Climbing Pico, Portugal’s highest mountain, is a truly life-changing experience. However, it is an experience that requires a great deal of dedication, training, and, above all, a lot of willpower.
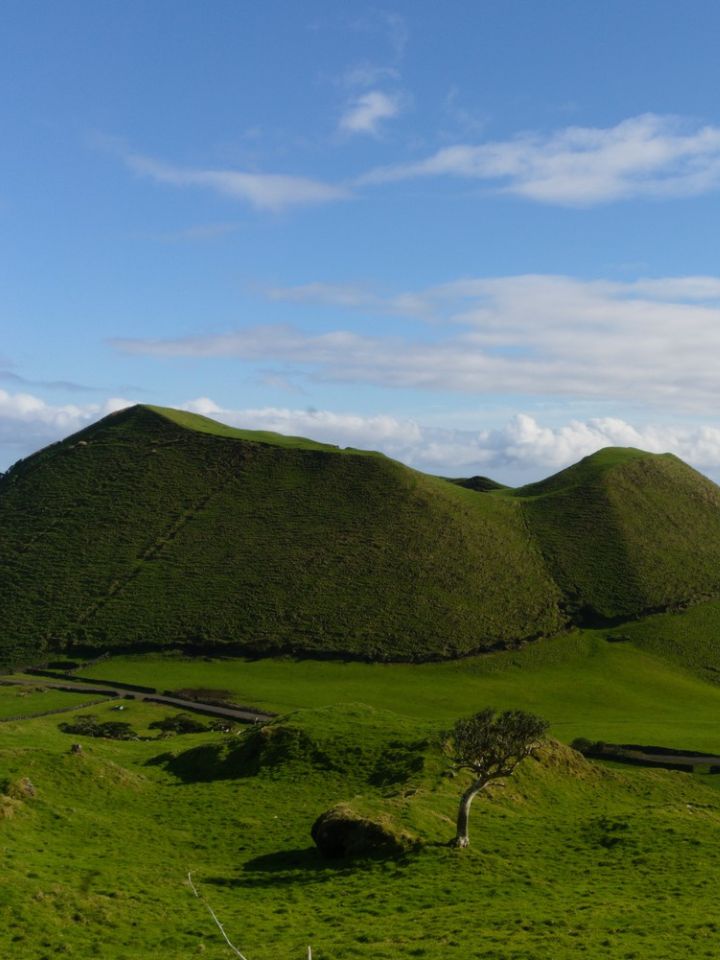
Located on Pico Island in the Azores archipelago, Pico Mountain holds the title of Portugal’s highest mountain, standing at an imposing 2,351 meters—358 meters higher than 'Serra da Estrela'.
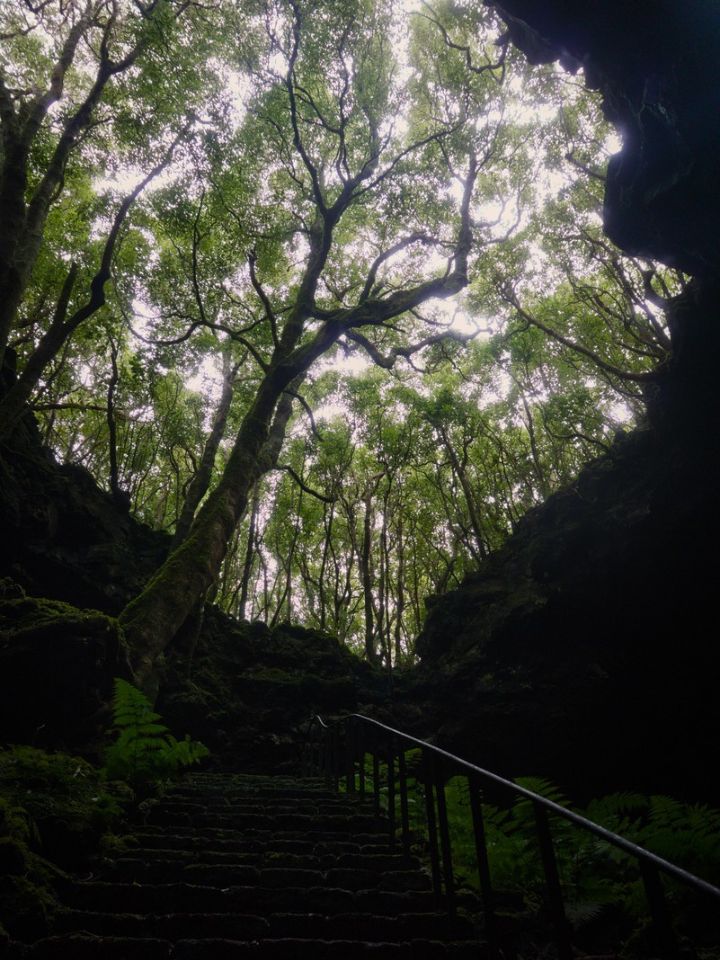
Since there’s no road leading to the summit, reaching the highest point of this volcano is an experience that stays with you for the rest of your life. But the climb itself isn’t easy.
All in all, the process consists of “just” 3.8km, but don’t be fooled by this seemingly small number because, in practice, it’s 3.8 km with a 1,150-meter elevation gain, which results in an average elevation gain of more than 300 meters per kilometer.
You can choose to do a daytime hike, a night hike (which starts at dawn and ends at sunset), or—the most challenging option—a hike that includes an overnight stay in the crater.
Additionally, you can choose to hike only as far as the first level, 'Furna Abrigo', continue up to the caldera, or—as we did—all the way to Piquinho (the final 50 meters in elevation).
To make this possible, we recommend a proper preparation: both physically, through mountain training, and through the acquisition of the necessary equipment for a safe ascent, ending with the guide tour book – this final tip is essential for anyone (like us) who has no experience with this kind of adventure.
1. Preparing to Climb Pico (Peak): Training, Clothing, and Guide
A good physical condition is essential to achieve the goal of climbing the peak. Since Portugal is a fairly flat country, it’s natural that we have fewer opportunities to train on routes with significant elevation changes. However, there are some good trails we recommend for training.
A trail that allows you to train for steeper ascents and descents, with constant changes in elevation, is the Piódão, Foz D’Égua, Chãs D’Égua Trail, in the district of Coimbra (More information here). Here, the elevation fluctuates constantly between 500 and 700 meters; since it is a longer trail, it is ideal for building endurance. Another trail is the Beech Tree Route, which, although slightly shorter, has a greater elevation gain, ranging from 880 to 1,174 meters, thus allowing the body to acclimate to both walking at altitude and the elevation gain (More information here). These were the trails we did, but there are many others—look for trails with steep inclines and, preferably, ones that also allow you to build endurance.
Despite this training, you need to realize that climbing Pico (and descending it!) will be tough: we don’t know of any trail in mainland Portugal that can truly prepare you for the elevation gain you’ll encounter, but it certainly helps get your body in shape.
In addition to physical training, it’s a good idea to get proper clothing.
In our case, we decided to bring:
- Thermal shirt + fleece shirt;
- Waterproof hiking pants;
- Cold-resistant gloves;
- Beanie;
- Mountain boots
- 30L backpack
- Sun glasses.
All of this gear is practically essential for climbing the Mountain.
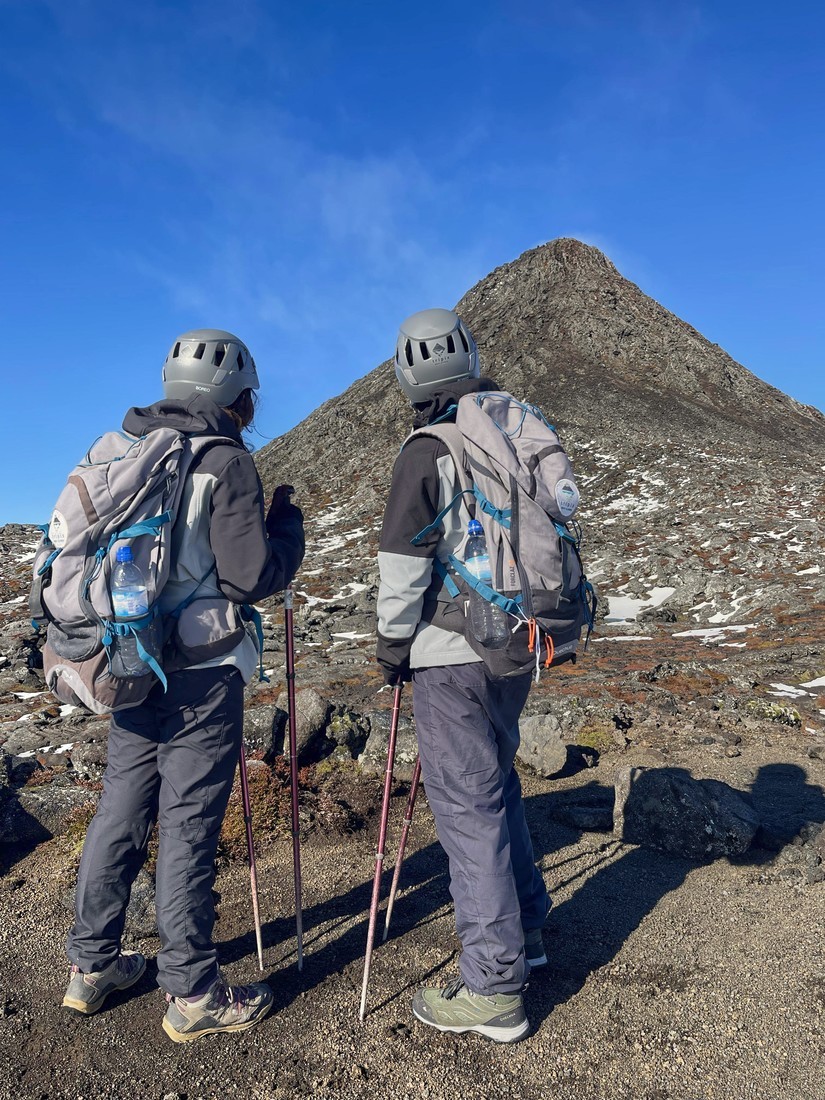
If, like us, you’re visiting during the coldest time of year (in our case, it was January), there may be snow in the crater, so you must bring crampons (spike that attach to hiking boots). Since we chose to hire a guide who provided all the equipment—the backpack, trekking poles, helmet, and crampons were provided by the company that organized the climb, but this gear also makes the hike much easier and safer.
Please note that temperatures in the crater and at Piquinho (Last 50m) are extremely low at certain times of the year, with the wind chill often approaching 0°C. Bring extra clothing and dress in layers as you ascend.
Which brings us to the final point in the preparation: get a guide to climb the peak. In our experience, this step is absolutely essential.
The Mountain has a very uneven terrain, and although there are markers indicating where to go, there is no clearly defined trail, which makes the climb very difficult for those unfamiliar with the mountain.
The opinion we can offer concerns to Tripix Azores, which was the company we chose to take us on this adventure. In the end, we paid €65 each (in January 2022), but, as we mentioned, this included protective gear, insurance, several photos and videos (later provided by the guide), and a certificate of ascent to Portugal’s highest mountain. This amount also covered the Casa da Montanha (Mountain House) fee, which is mandatory even for those climbing on their own.
In our case, our guide was the amazing Matteo, who chatted with us throughout the entire trip, answering all our questions about the region and keeping us motivated.
Please note that this was our experience regarding prices and what’s included in the cost, so we recommend checking the websites and calling the companies that offer this incredible adventure, as prices may vary. If weather conditions are unfavorable, the guide may cancel the climb.
Get to know the the company we chose for the climb and its prices, be dazzled by the photos of their various climbs and meet the amazing Matteo.
2. Climb the Peak (Pico)
The climb up Pico Mountain is physically demanding, but it’s totally worth it.
During the climb, watch your step carefully. The ground is often covered with loose rocks that can shift under the pressure of your feet. This terrain, combined with accumulated fatigue, makes falls a constant risk—and on this terrain, they can be extremely dangerous.
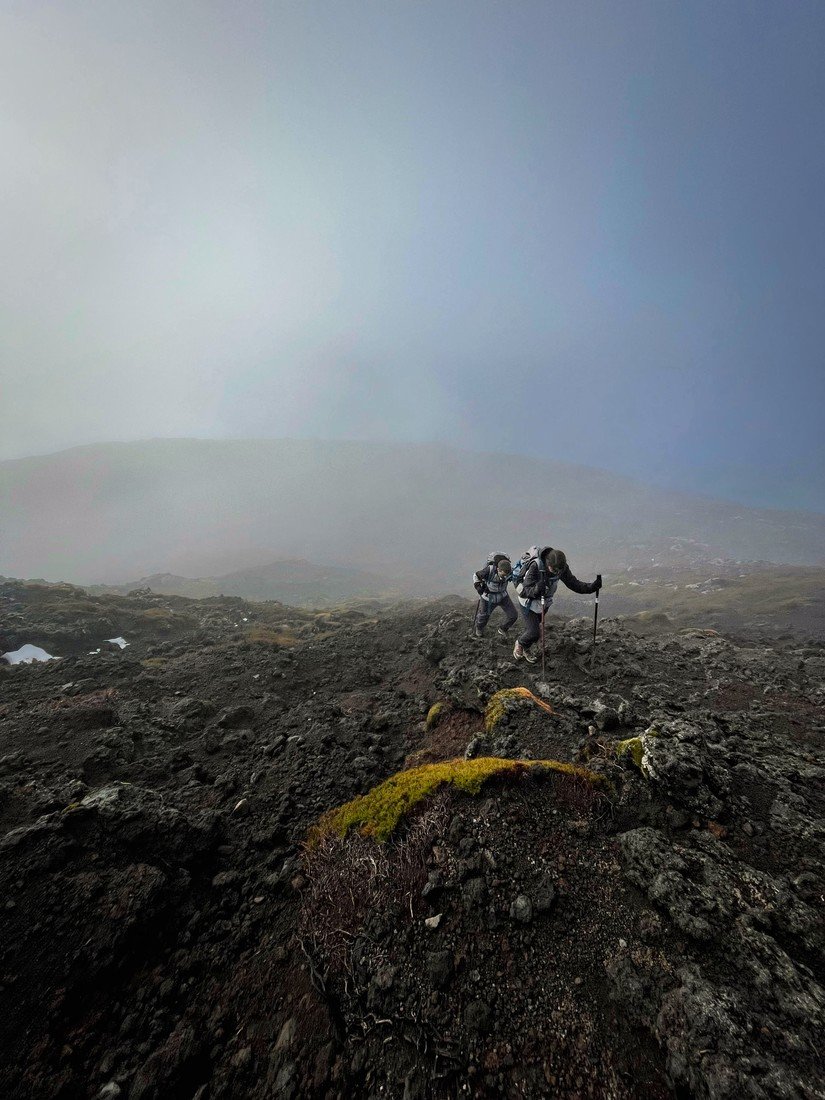
The beginning is the easiest part, since it has the least elevation gain. Along the route, you’ll come across a number of 46 wooden posts which are separated not by distance but by elevation gains, so at first it seems like there are still many left, but the last few are very close—no matter how tempting it may be, avoid counting the markers; it will have a strong psychological effect.
The first major milestone is the Level of Natural Selection, after about 30 minutes. This section is typically used by guides to assess participants’ physical fitness. Several sections follow, each featuring different scenery and terrain.
Next comes one of the easiest parts, the so-called Walk in the Park, which is perhaps the part of the route that most resembles walking on a dirt path.
At 1,850 meters, we arrived at the so-called Valley of the Fallen. The name alone gives you an idea of what to expect on this section: steep climbs and loose rocks.
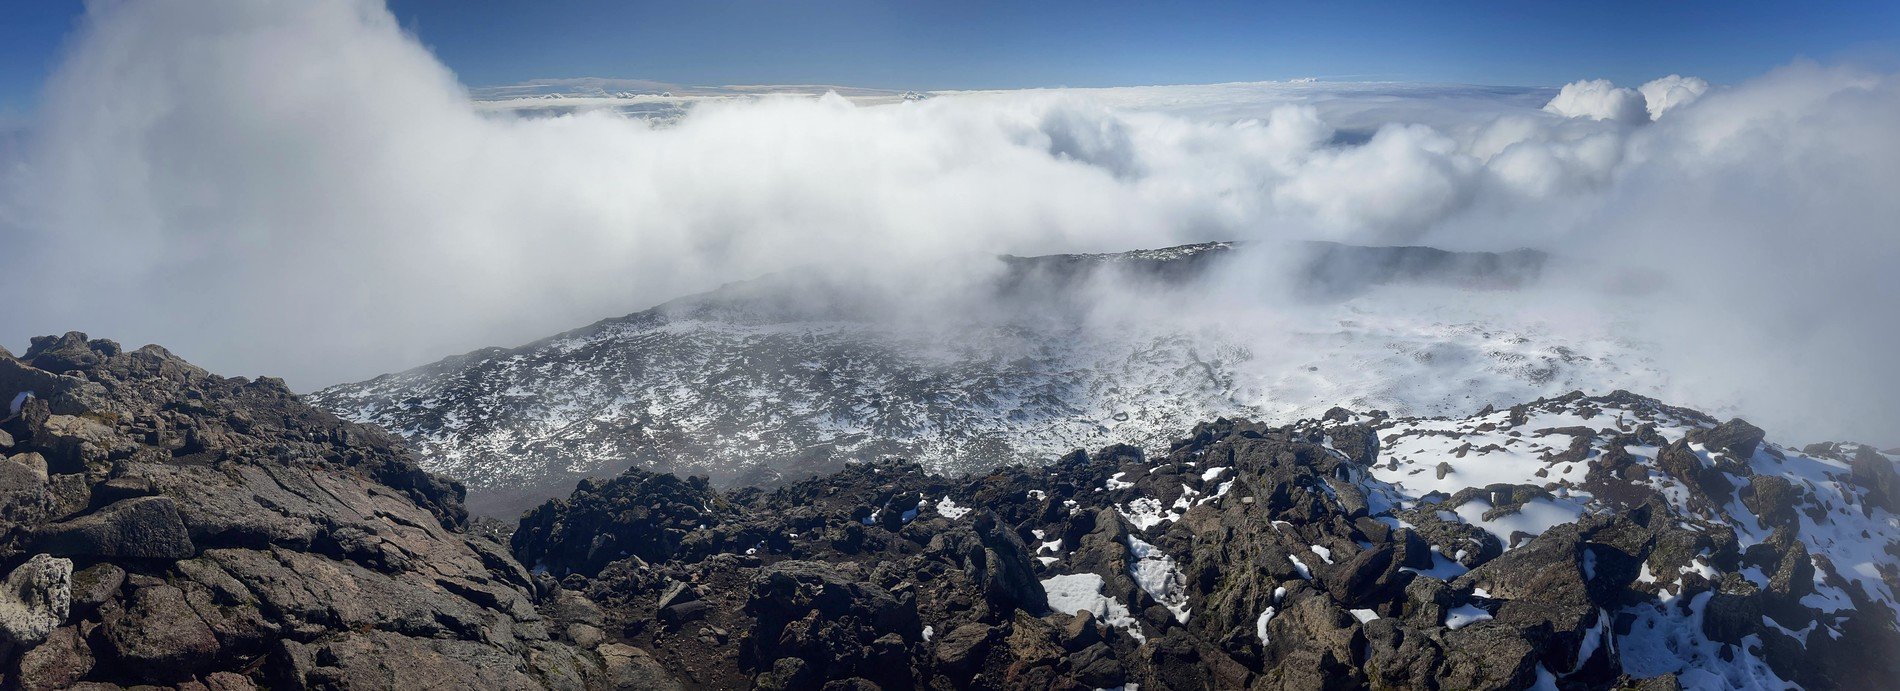
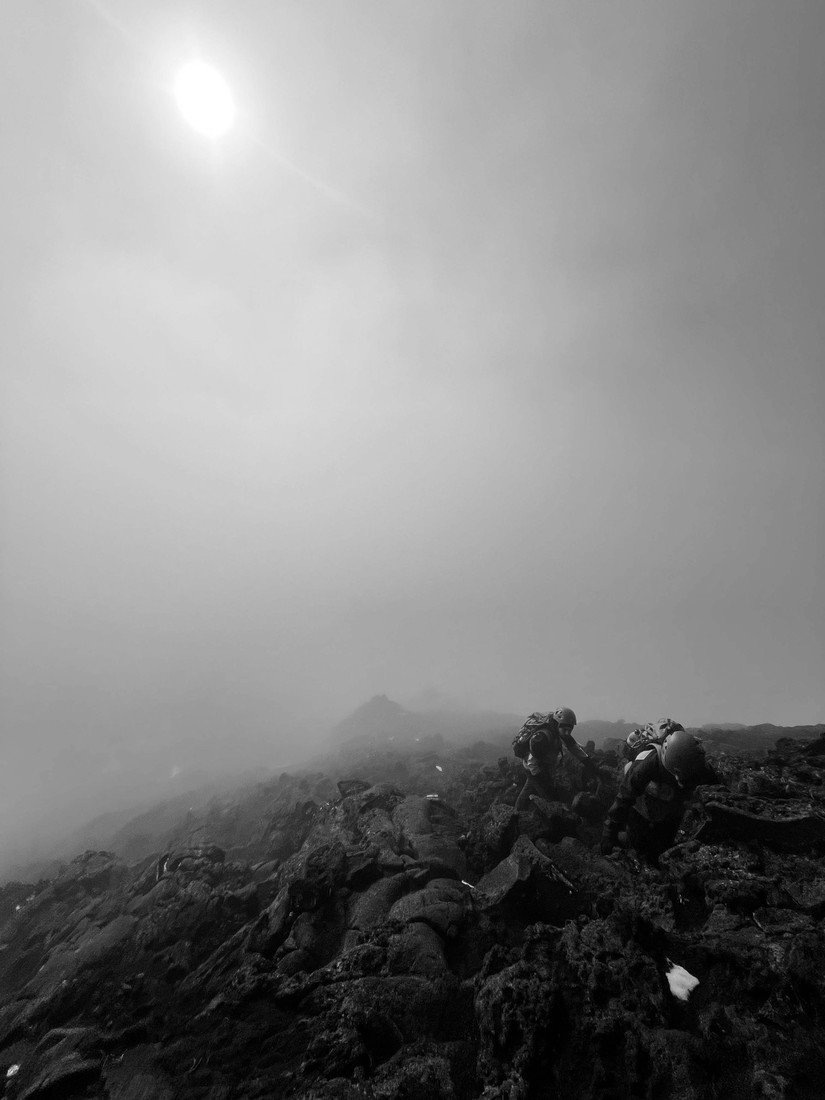
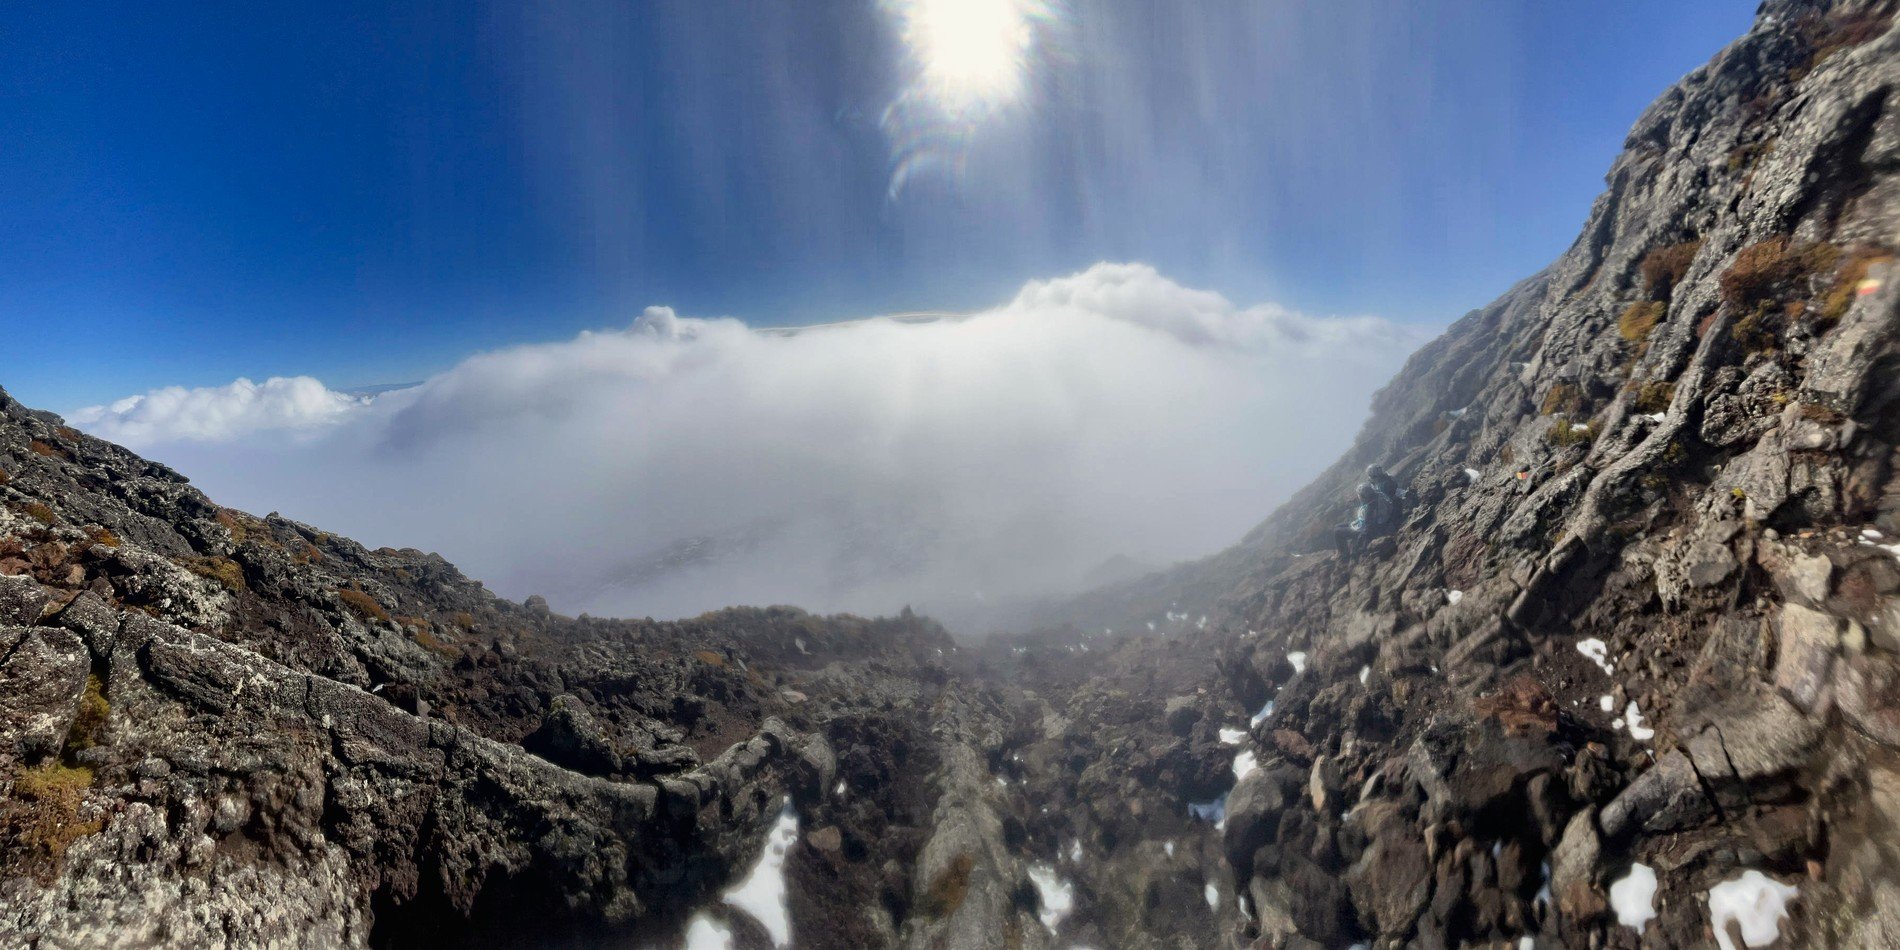
From here on, the climbs become steeper and, of course, more tiring. Of particular note is the so-called Fake Top at an altitude of about 2,000 meters—one of the last spots where we could see the island, with a breathtaking view. From there on up, we were surrounded by fog and clouds, and we only stopped at the crater.
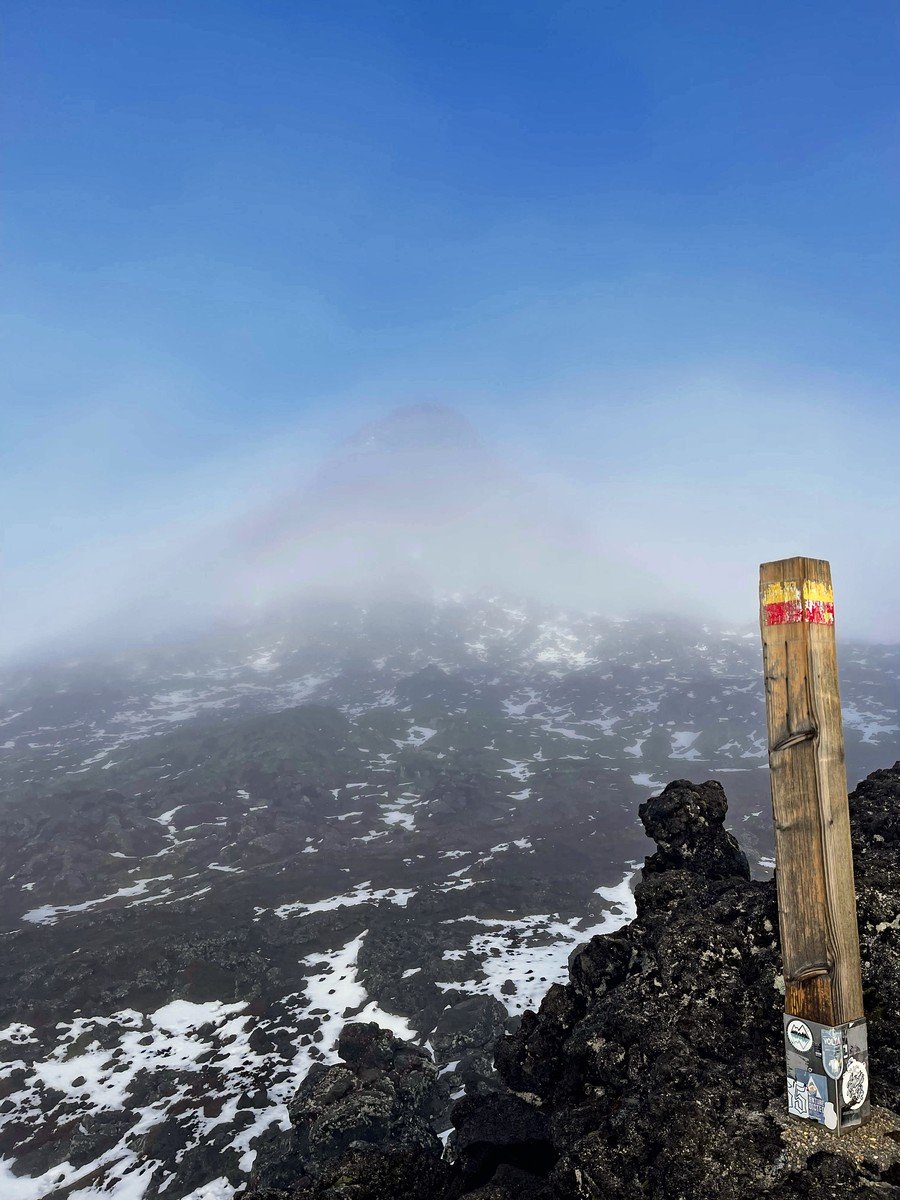
As we reach marker No. 47, we know we have arrived at the crater: This is the summit of the original Pico volcano. When we visited in January, the scenery was magical, covered in snow. Because of this, it was mandatory to wear crampons.
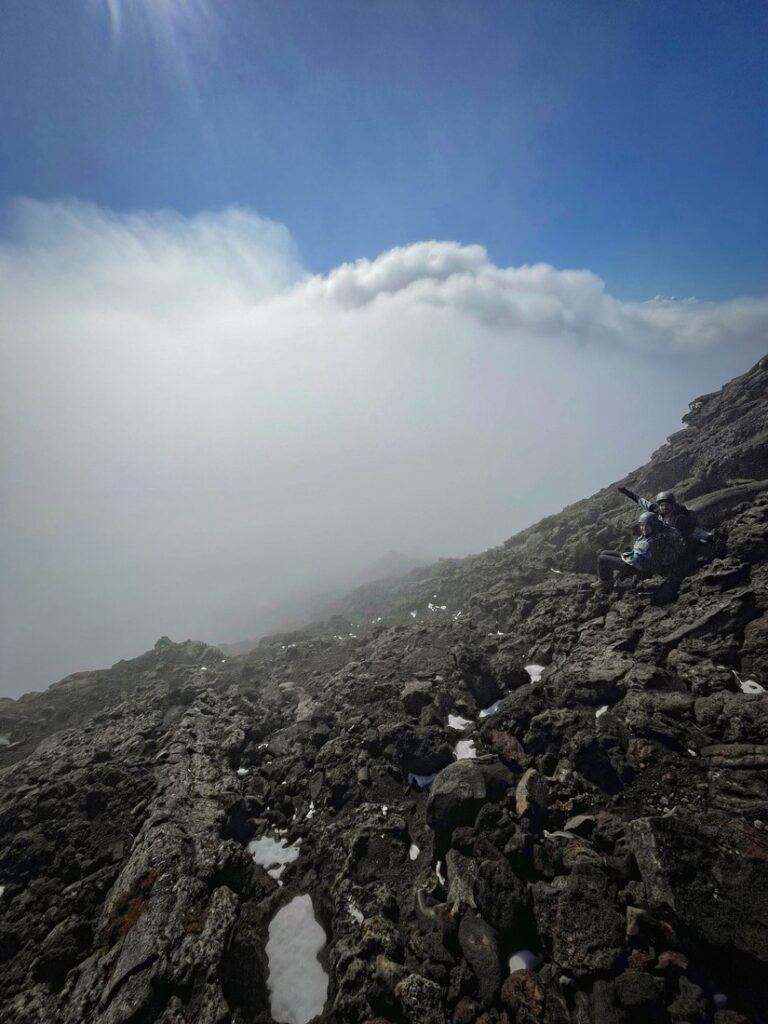
From here, there are just the last 50 meters of elevation left: only left to climb the Piquinho. This is the most physically demanding climb, often requiring you to use all four limbs to pull yourself up. Here you’ll have to leave your trekking poles behind (if you have them); they’ll be waiting for you at the crater. Here you’ve reached your goal of climbing the peak!
The view is breathtaking, and you can see most of the surrounding islands. The weather on the mountain usually changes very quickly, so you might arrive to clear skies or thick clouds, but both scenarios are beautiful. In our case, we arrived in fog, which lifted after about 30 minutes.
3. Descending the Peak (Pico)
Just thinking about it hurts! Some say the descent is easier, but for us, it was the hardest part.
The initial steep climb had left us gasping for breath, but this part left us with muscle aches that hadn’t made themselves felt during the ascent. At the same time, it seems that all the descents suddenly become steep, to the point where we can’t even remember having climbed them.
Although it may seem faster, the descent takes some time, since it must be done calmly and carefully to avoid injury.
At the end of your adventure climbing Pico, you should return to Casa da Montanha (Mountain House) to return the GPS and report that the adventure is over. The total ascent and descent usually takes between 7h to 9h, depending on the number of stops and the pace of the climb. In our case, it took us about 4 hours to climb up and 4 hours and 30 minutes to come down.
The effects of this physical exertion linger for days: your muscles ache even when you go to the bathroom, and you’re bound to get a few blisters. But the memory of a great adventure remains. And it’s totally worth it.
Here are a few pieces of advice Matteo gave us that we still follow on our hikes today: “One step further is one step less,” “there’s no shame in the mountains,” and, of course, to thank whoever gave us that experience: “Thank you, mountain!” – and thank you, Matteo. 🤘🏻